Marketing is a two-way interaction with the public, prospects, and peers to present them with the best face of a business. You do this to inform and persuade them of the benefits of dealing with that business.
Marketing – general
LinkedIn: What the hell’s the point?
LinkedIn isn’t quite like “Facebook for business,” although you can waste hours there reading posts, watching videos, and participating in arguments – er, I mean discussions. It’s also not meant to be a digital version of the Old Boys Network.
It’s very confusing when you’re introduced to it. “There it is! Isn’t it glorious?”
“Yeah, but what do I do here?”
According to their own stats, by May of 2023 LinkedIn had over 930 million users. But what are all those people doing on LinkedIn?
The Questions
The way I see it, there are three questions worth asking about LinkedIn:
- What is it?
- Why do I want to be on it?
- What good can it do for me?
What is LinkedIn?
LinkedIn calls itself “the largest professional network on the internet.” But that’s just a description. Once you sign up for LI, you can post a biography and job history, along with a list of skills in which you’re proficient. You can write short posts or longer articles, as well as read those written by others. You can also post video and audio clips. You can join groups built around shared interests (“Yak Fur Marketing”). There are pages run by companies, where owners and employees theoretically hang out.
A basic LI account “doesn’t do much.” In order to really use LI, you need a Premium (aka Paid) account to get access to stats & info on other businesses, generate leads, and send mail to people you don’t know. At least – that’s what folks (and LI itself) will tell you. That’s not necessarily the truth. You can accomplish a lot for yourself with a no-cost Basic account.
Why do you want to be on LinkedIn?
At its heart, LI is a professional network. It’s a singles bar for business people, where you’re meant to mix and mingle, get to know other folks and make friendly connections.
Note: I didn’t say “make friends,” I said “make friendly connections.” Making true friends is a bonus. LinkedIn’s idea is that by connecting with others, they make business people “more productive and successful.”
So, why do you want to have an account on LI? In order to be seen.
Why do you want to be active on LinkedIn? So that by networking, you can meet others, help them and receive help in turn.
What kind of “help?” Job assistance, or learning something new. Experiencing a different viewpoint. Meeting new friends, and finding out your interest (maybe in marketing yak fur?) isn’t as esoteric as you’ve been lead to believe. Maybe just to see a friendly face, to offer a comforting word or a sympathetic ear.
Connecting is much more than just collecting a list of names. There are millions of accounts that do only that, each one of them seeming to think, “I win the Internet because I have a bigger list of connections than you do.”
What good can you get from being active on LI?
It doesn’t matter if you have a Basic account, or a Premium one. The important point is to be active. By “active,” I mean that you interact with other people. Say hello. Congratulate them when they get promoted or change jobs, have a work anniversary or a birthday. Read their posts, and give them a “thumbs up” response when you finish. Better yet, leave a short written comment (hopefully positive, if you can) to let the author know you read their words or watched their video, and considered them.
One of the best ways to get noticed is by noticing others. That is, interact with the content they’ve produced (posts, articles, videos, etc.) and demonstrate you’ve consumed it. Respond – hopefully in a positive manner. Give it a “thumbs up,” comment, or share it. Essentially, you want to be seen being a good connection. Promote others, do positive things for them – help them – and you’re likely to be helped in turn. If you can, create some content to share on LI, and let your connections know it’s there.
As they say, a rising tide lifts all boats.
What’s next?
I’d love to have your comments. Please feel free to ask questions as well. I’m just one guy out of 930 million with my own ideas and opinions, and I’ll happily give you my answers. And feel free to visit my personal LinkedIn account.
Important Parts of an Advertisement
Advertisements are a ubiquitous part of our lives. They’re on TV, on the radio, in newspapers and magazines, and online. But what makes an advertisement effective? What are the key elements that make an ad stand out from the crowd?
There are many different elements that can contribute to the success of an advertisement. But some of the most important include:
- A catchy headline: The headline is the first thing people will see, so it’s important to make it count. The headline should be attention-grabbing and should give people a reason to read the rest of the ad.
- A strong image: Images can be incredibly powerful in advertising. They can help to convey the message of the ad and can also help to make it more memorable. When choosing images for an ad, it’s important to select ones that are relevant to the product or service being advertised and that are also eye-catching.
- Clear and concise copy: The copy is the text that appears in the ad. It’s important to make sure that the copy is clear, concise, and easy to understand. The copy should also be persuasive and should make people want to take the desired action, such as buying the product or service being advertised.
- A call to action: The call to action is the final element of an advertisement. It tells people what you want them to do, such as visit your website or call your phone number. The call to action should be clear and easy to follow.
By incorporating these key elements into your advertisements, you can increase your chances of success and reach your target audience.
In addition to these key elements, there are a few other things you can do to make your advertisements more effective:
- Target your audience: It’s important to make sure that your advertisements are targeted to the right audience. If you’re not sure who your target audience is, you can conduct market research or use social media to find out what people are interested in.
- Use social media: Social media is a great way to reach a large audience with your advertisements. You can use social media platforms like Facebook, Twitter, and Instagram to share your ads and to connect with potential customers.
- Use video: Video is a powerful tool that can help to grab attention and convey your message. You can use video to create commercials, explainer videos, or even product demos.
- Use influencers: Influencers are people who have a large following on social media. You can partner with influencers to promote your products or services. Influencers can help to reach a wider audience and can also help to build trust and credibility for your brand.
By following these tips, you can create advertisements that are effective and that help you to reach your target audience.
Teaching Online – Part 5
Structure 2 – A Bigger Picture
Earlier, we looked at the structure of your lessons. I advised you to start with a single, simple lesson and grow from there. Over time, you’ll accumulate enough content to create modules, then courses, and perhaps even a whole program.
Add-on or brand new?
During these articles, I’ve tried to talk about teaching online as if you were adding it to an existing business or enterprise. However, you can offer an educational experience that has nothing to do with your primary business. You can sell car parts, and create a platform to learn car repair, or you can pivot and teach cake decorating. You could offer the car repair lessons directly from your existing website, but the cake decorating lessons will need their own structure separate from the car parts.
Is your intent to provide lessons for existing customers, to enhance what they’re already purchasing from you? Or do you want to provide a complimentary educational experience for existing and possibly new clients? Providing lessons on replacing parts enhances your business selling car parts, while a program on how to apply a custom paint job may draw in some customers already buying car parts, and will draw in others who may not be customers, but who are interested in painting their own vehicle.
One course and beyond
Once you’ve created a whole course and begun selling it, where do you go from here (assuming the course is providing a return on your investment)? As you’ll quickly learn while trying to design and populate your first lesson, running an educational platform requires time, focus, and perseverance. It can quickly become a business of its own.
So, do you add more resources to building and running an educational platform? Do you let it remain as it is? Or, when interests – yours, your customers, or both – have waned, do you pull it down and scrap it? Perhaps even sell it off down the road?
These questions aren’t an academic exercise. When you’ve built a platform, and it has any kind of success, you’ll have to come up with your own answers to them.
Alternatives to Doing It All Yourself
Rather than building your infrastructure from the ground up, there are several alternatives for nearly every step of setting up and running an online educational program. There are companies that run platforms, build media from your content, process payments for you, and market your courses. And consultants to handle as many of the choices and steps as you need.
You must, however, decide on the lesson and course content yourself. You can hire someone to write the text and scripts if you want to. As they say, if you have enough money, you never have to work.
Content
As long as you know what you want to teach, you can hire folks to research topics and write text documents or audio/video scripts. You can hire folks to create graphics, put together slide decks, and edit video segments. You can either hire people to do voiceover work, or buy a program that will provide AI narration from a script. You can convert from speech to text, or from text to speech, and there are programs that will animate a person talking for you.
Platform
I set up educational platform software – also called Learning Management Software, or LMS – on websites controlled by my clients. However, there are solutions like Udemy and Teachable that provide you with a structure you can just fill in. Other software like Blackboard and Moodle are built with a more traditional teaching structure in mind, and can share content modules across platforms (aka SCORM).
Almost every site I build for clients is based on the WordPress CMS (Content Management System/Software). I have licenses for both the LearnDash plugin, and Wishlist Member, which has an LMS add-on, but there are other plugins like LifterLMS and SenseiLMS.
Payment
If you choose an option like Udemy or Teachable, you’re stuck with the payment processor they use. Then again, you’re also paying them to host you, market your courses (to some extent), and deal with some of the questions and complaints people taking your course might have. I’m based in the US, as are all the clients I have running online courses. I prefer to use Stripe to process credit cards, with a backup system of PayPal. However, those solutions are not available world-wide. Ultimately, you’ll have to decide if you want to go with a hosted solution that collects payment for you, or deal with finding a processor on your own.
Consultants
If you want to hire someone to help you with one aspect of setting up an online teaching platform, it’s easy to find them. If you want to hire someone to help you decide what to offer, and which platform to use, you can find those folks, too.
Basically, there are freelancers that will help you with one part, or consultants that will help you with the whole darn thing. As I said, if you have enough money you never have to work. One way or another, you can solve any problem – or at least avoid any obstacle – if you throw enough money at it.
Full disclosure: I help entrepreneurs and small businesses set up online learning platforms, and I charge for doing it. There are recurring costs, but if you target the right audience with the correct solution, that shouldn’t be a problem.
Aside from the costs of platform software and other tools, how much will this cost? It depends. You can probably spend as little as $500 for a freelancer, and as much as $15,000 on a consultant. It all depends on how much work you do on your own.
When I started Agile’ Marketing Services, I decided on an 80%/20% work rule. When a client hires me, one of us does 20% of the work, and the other does 80% of the work. Approximately. I find that when you each do half the work, a lot of finger-pointing happens, and both blame and honor are tossed around like confetti. With an 80/20 rule, there’s a lot more emphasis on positive results than on who’s at fault. I strongly suggest that, if you hire a consultant, you hammer out all the details in writing before paying dime one.
Where can you find freelancers? My favorite spot is Fiverr.com . You can find voiceover artists, graphic artists, someone who will create charts and data graphs, and folks who will edit screen recordings and provide you with a cartoon image of your face. There are other sources, like Guru.com, Freelancer.com, and a hundred other sites.
As far as consultants to carry out the “heavy lifting,” I would decide on which platform you want to use (or at least narrow down the list to no more than 3 platforms) before searching for someone. Search support or fan groups on Facebook for that platform, Google “{platform-name} consultant,” or simply ask the solution provider for a list of consultants certified to work with their solution.
Marketing
Marketing can be defined – in a broad sense – as getting information about you, your products, and services in front of people who have an interest in them. No matter what any online learning platform company says, this is ultimately up to you. Only you know who is a prospect for your lessons and courses. It may take some research to find them, and they may not be who you think they are.
You have to let people know you exist, that your lessons are available, and help them determine that they will be of value in their lives.
Entire schools and graduate programs exist regarding the field of marketing – there’s no way I can do it justice in a couple paragraphs. Just know that you’re responsible for letting people know about your business, and your courses.
Price vs Cost
Ultimately, you’ll have to weigh your options on every aspect of teaching online, from the software to the time invested in creating your content and building your lessons, courses, and possibly even school(s).
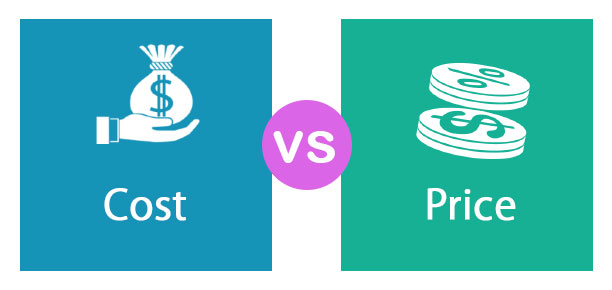
Briefly, the price of anything is the amount of money that you have to take out of your pocket (or get someone to invest) in order to buy a solution. You may be able to buy video editing software, or word processing software that will output a finished PDF. The cost of something is everything you have to give up, or invest yourself, in order to accomplish a goal. Time will always be your biggest cost, along with effort. You can use the video editing software you bought, but you have to invest the time to create the content for the video, find a place to host the clips, and test the whole process to make sure it works.
At some point, you’ll have to make a decision on creating online educational content is worth both the price and the cost. What will the return on your investment of your time and money be, and is it worth it?
What’s Next?
For now, this is the end of my written series on teaching online. I hope you’ve enjoyed it, and found it both educational and useful.
The 4th Quarter is very busy for me – helping clients with Black Friday and other holiday promotions, along with planning for the 1st Quarter of next year. However, I do find a bit of time for my own projects.
I’m planning on releasing an online course in mid-January 2023. The subject: Building Your First Lesson Using the LearnDash Plug-in.
If you’re interested in learning more about the course as we get closer, please fill in the form below.
Read part 1 here. Read part 2 here. Read part 3 here. Read part 4 here.
Teaching Online – Part 4
Delivering Content
All at once
With packaged content – like a book, a movie, or just content you’ve already created – there can be the temptation to make it all available at once. “Here it all is – go for it!” That’s your only option if all you have is a single lesson. It may be good if you have, say, up to three short lessons in total. But with anything more than that, it’s better to schedule the delivery of your content. Space it out over time.
When we learn something new, people grasp it easier, and remember it better, if we have time to think about the content and practice the techniques between lessons. The information gets a chance to imbed itself into our consciousness before we add new content.
Day and time
For centuries, a lot of education was done by bringing students together in one place, on a given day of the week, and at a certain time. Most primary schools still operate this way, as do many secondary schools, like colleges and universities. Your History course might be taught on Tuesdays and Thursdays in Auditorium 107, between 1 and 3 PM.
You can still do this when teaching online. You can present the material live via an online video conference, or simply make packaged content available at that day and time.
Dripping content
Many educators use content delivery systems that deliver – or drip – content based on when the student joins the course. This is the method I find useful for most courses I create, even if I specify a start date.
Let’s say you create a course that has eight lessons, four quizzes, and one test. We measure time in days, weeks, and months. You can imagine this content being delivered twice a week, with a quiz after the final lesson of the week, and the final test on the last day of the last week.
If we start the course on Monday the 1st, the content is delivered on Monday and Wednesday each week, with a quiz every Wednesday. The final test is on the Friday at the end of the 4th week. That’s a total of 26 days. Take a look –
| Monday | Tuesday | Wednesday | Thursday | Friday | Saturday | Sunday |
| Content | Content & Quiz | |||||
| Content | Content & Quiz | |||||
| Content | Content & Quiz | |||||
| Content | Content & Quiz | Final Test |
Twenty-eight days, minus the final two, is 26 days. But it’s a pattern: Content, a day off, then Content and a Quiz, then four days off. Repeat that pattern three times, and then the fourth week has a slightly different pattern, ending with the final test.
You can schedule your content to drip out to students with a similar pattern, no matter what day of the month that they start your course. The student who starts on Monday the 1st will follow this pattern. But so will the student who starts on Tuesday the 2nd, or even Thursday the 18th. Each of them gets their final test 25 days after they start, regardless of the day or date on the calendar.
This allows for an evergreen course, where students can start on their own schedule. This is possible by packaging all the content, the quizzes, and the final, and using scheduling software to deliver/drip the content via your platform. Most educational platform solutions have a scheduling tool that will handle this.
Membership vs Courses
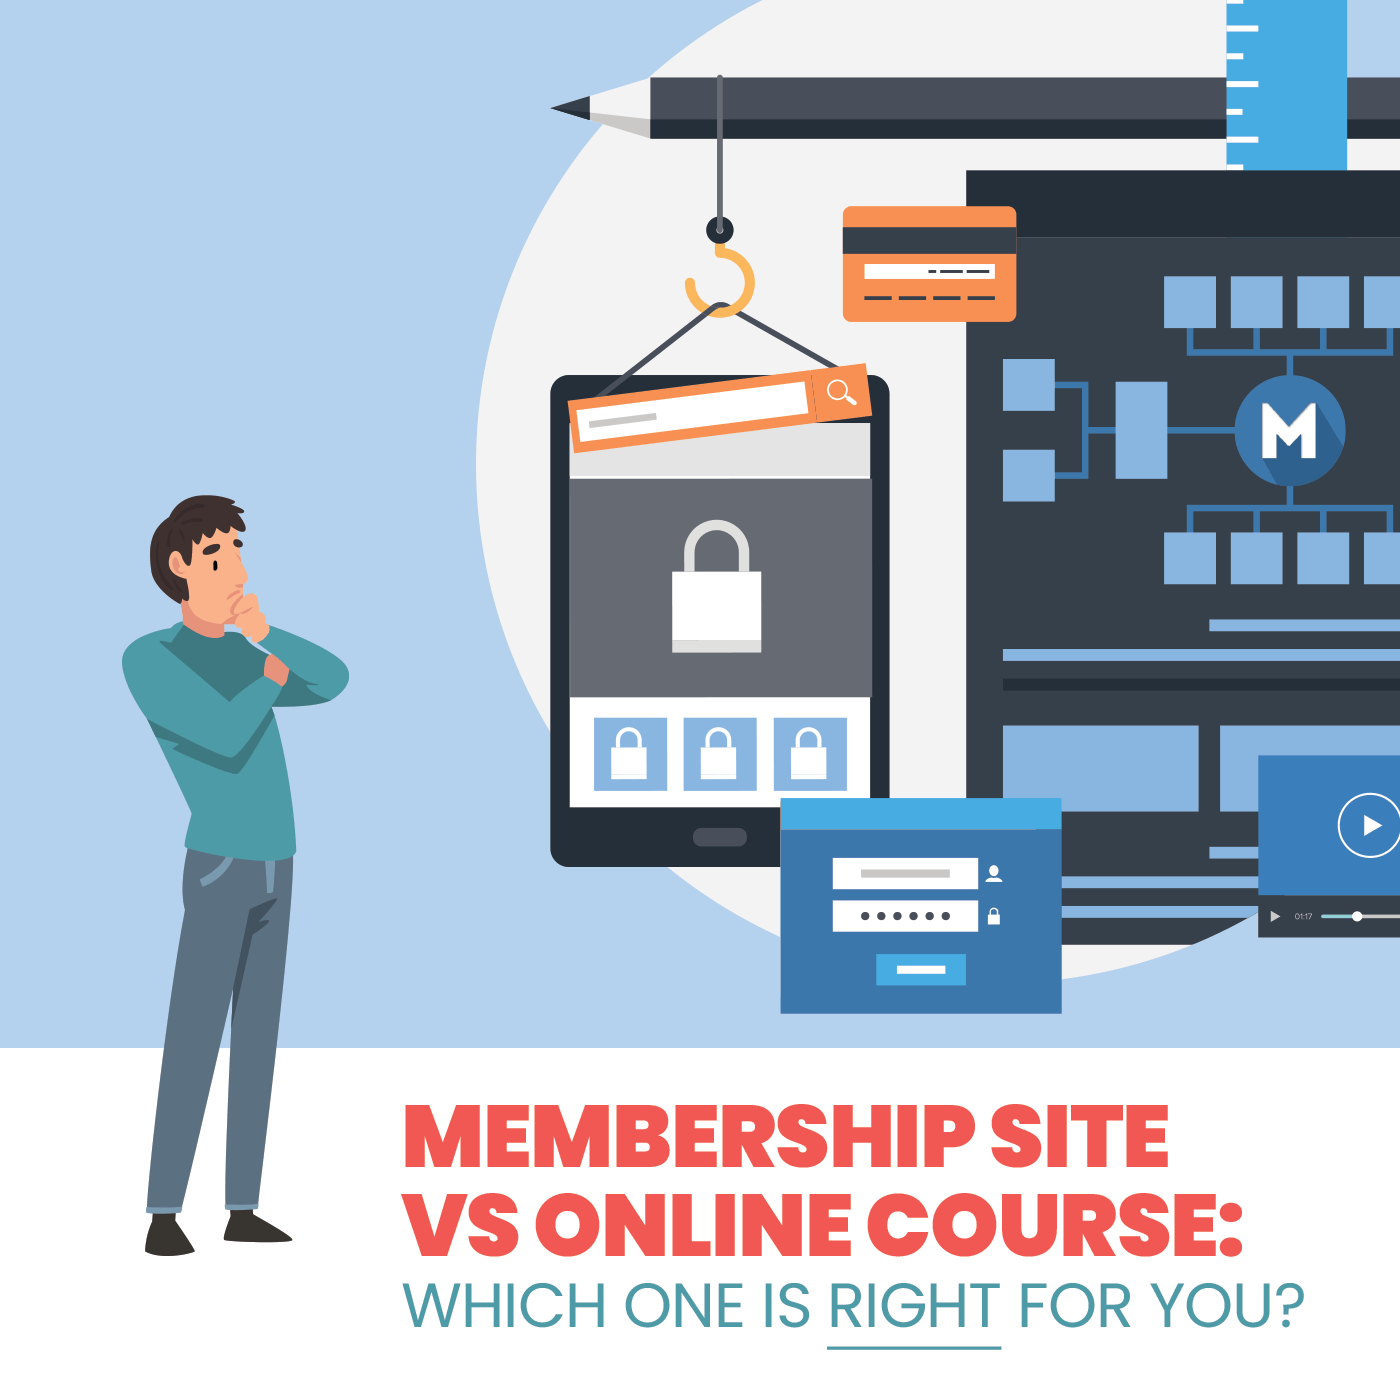
At their heart, both membership site software and educational platform software have the same function: they keep non-registered visitors away from the area reserved for registered visitors.
By itself, most membership software only provides that divide in areas between members and non-members, with a doorway between the two sides. Most educational platforms are created to allow for additional structure and the creation of lessons, modules, courses, and schools.
Membership sites are a great place to offer libraries of content, but by themselves most membership software doesn’t have the tools to build a structured education system.
On the other hand, most educational software allows you to build a structure for delivering content, but doesn’t provide the other tools that membership software does, like allowing for membership levels.
One exception to this is Wishlist Member, a membership site plugin for WordPress-based websites, that also makes an educational platform add-on. While it’s great for a complex membership site with teaching features, it’s also easy to learn, yet powerful. It has features that will satisfy those making simple sites, as well as intricate ones.
Monetizing Online Teaching
Delivering online courses to your existing audience can be a perceived benefit to them. It can also be a way to introduce your products and services to prospective buyers as well.
Once you begin to build up a library of lessons, making at least one complete course of information, you’ll want to offer prospects a reason to pay for them. The best way is by offering a free series of lessons.
Depending on your content and it’s perceived value, you might offer courses for as low as $29. Or, you may set your price in the high 4-figures, or even into 5 figures. Establishing a price is not about “what it costs to make,” but about the value – immediate or eventual – that the student can get from the course.
Because you’re offering these courses online, you’ll want a digital solution for taking payment – at minimum, some way to accept credit and debit card payments. There are also digital-only payments; services like PayPal, and cryptocurrency.
Your education solution software will come with several modules built into it, or with the ability to add/change modules. A registration module will take the student’s name and email address, along with any other information you decide to collect. It will help them set up an account with your system, and provide them with a way to access your courses or lessons. A payment gateway will collect payment information, and then relay it to a payment processor, like a bank, or a company that bills the client and provides you with the money, after taking a fee for services.
Many payment processors will place a 30 or 45 day hold on your money, in case of chargebacks, or instances where the card owner complains directly to the card company that the charge isn’t valid. You’ll also want to offer a money back guarantee, so that you’re prepared to offer refunds. As you can see, selling educational courses online isn’t like printing money, no matter what the gurus say!
If you have a large number of chargebacks or refunds, your payment processor may decide to limit your account, or drop you as a customer altogether. This isn’t as big a problem as it used to be, but it still happens. You may lose access to funds you were counting on.
With brick-and-mortar locations, a customer can come in and bang on the counter until a staff member serves them. As an online provider, you have to be available to answer questions, handle problems, and resolve disputes nearly 24 hours a day, 365 days a year. At the very least, you should have notices on web pages, on your support page, and in your emails giving the times you’ll be available to handle these situations. Negative reviews are nearly unavoidable, but it’s not about bad experiences – it’s about how you handle them when they crop up!
After a student buys from you one time, you want to keep them coming back and buying more. What else can you offer a satisfied student? Consider an upsell, where you offer them a premium product or service for an additional price. A cross-sell, where you offer a product or service from a non-competing business. Or a simple add-on, like a PDF or an audio file that covers the same information as the course they completed. And obviously, you can create more courses.
Pricing and marketing are whole courses in and of themselves. This is merely a brief introduction to monetizing content.
Read part 1 here. Read part 2 here. Read part 3 here. Read part 5 here.
Teaching Online – Part 3
Structure – Part 1
Top-down
Putting together a system or process is the best way to handle almost any task, large or small. After realizing that you want to teach a subject to others, the best way to approach building that process is to think about its structure.
If we look at the structure of an American university, receiving an education in a particular discipline is broken down into several strata.
First we have a school, like a school of business, or a school of fine arts. That school teaches one overarching subject matter (business, fine arts, physical sciences, etc.), broken down into degrees. To earn a degree (bachelor of marketing, or masters in painting, associates in physics, etc.), you take courses. Each course is made up of lessons, perhaps grouped into modules. Using an outline format, the structure might look something like this:
- Acme University
- Johnson School of History [school]
- Bachelor of Arts in Early American History [degree]
- History 101 [course]
- Module 1: Ancient History
- Lesson 1: The Last Ice Age
- Lesson 2: The Earliest Humans
- Etc.
- Module 1: Ancient History
- History 102
- Etc.
- History 101 [course]
- Bachelor of Arts in Early American History [degree]
- Johnson School of History [school]
Running a university is a complicated business. Teaching a subject, especially online, doesn’t have to be. Many people who look into teaching online are somehow convinced that they must build a complex top-down structure like a university. This isn’t true! It’s actually much easier and stress-free to work bottom-to-top. Keep this phrase in mind: Simple Is Best.
Bottom-to-top
The best place to begin is with a simple, complete lesson. What one thing do you want to teach interested parties? Think of buying a sandwich at a fast food restaurant. It’s one thing that you can get that satisfies a particular need; consuming it stops you from being hungry. That single menu item is made from a few larger ingredients (say: chicken patty, veggies, sauce, and bun). There’s a process the employees follow that might look something like this:
Greet customer → Take order → Receive payment → Build sandwich → Deliver it
When you think about building a teaching system online, your main job is to put together a single lesson, the way a fast food employee might build a sandwich from a few ingredients. Instead of patties, sauces, veggies, and a bun, your ingredients are content, composed of one or more media (video, text, audio, graphics, etc.) into a lesson.
I highly recommend starting with a single lesson first! Don’t worry about starting your own university – build a lesson out of content first. Then, over time, build more lessons. As you progress and get feedback from testers and actual students, you can string lessons that are logically linked into modules, and modules into entire courses.
Then, and only then, should you begin worrying about offering a series of courses.
Packaged Courses vs Live Workshops
One popular way of presenting lessons is to prepare the lesson media, and then make it available as a self-directed consumable content. That is, the student learns by going through the lessons at their own pace. If it takes an hour to finish the lesson, they move to the next one at the end. If it takes a week, that’s fine too. If the next lesson is available, they can move on immediately, or begin when they feel ready to do so.
Another way is the tried and true IRL (In Real Life) method of presenting the material live on a given day at a given time. This would be like attending a traditional college course, visiting a room where the professor makes individual presentations on a set schedule. Or it could be a live presentation over one or many days (a webinar).
Perhaps the optimum solution for teaching a complex subject is a combination of pre-recorded content and one or more live interactive experiences. Those could be held online, or even in person in a physical location.
Quizzes & Tests
According to the website Edutopia, “(T)he most useful kinds of tests are the least time-consuming: quick, easy practice quizzes on recently taught content.” Quizzes and tests establish and reinforce retrieval practice, or simply – retrieving information from memory. Not only do quizzes help a student assess their own level of learning, they reinforce being able to access the information and techniques presented to them by their educator.
I think of a quiz as a short series of interrogative questions about information just presented (or most recently presented) to a student. If the student is graded on their answers, the grade carries little weight towards their final score. A test, on the other hand, is a longer and more involved series of questions regarding a large set of information, which has probably been presented over a longer time frame. If graded, test scores carry more weight in determining the student’s final course grade. We’re probably all familiar with the concept of mid-term and final tests from our time in school.
In addition to the opportunity for self-assessment for the student, quizzes especially offer the educator the ability to gauge how well they presented information to students, and tell them what material may need to be reviewed in an alternate format. Quizzes can also open a dialog between students and educator about particular sections of the content.
There are considerations when designing a quiz or test, especially when it’s part of a self-paced educational program with limited interaction from the educator. Edutopia also finds that “. . . well-constructed multiple choice tests, with clear questions and plausible answers (and no all- or none-of-the-above choices), can be a useful way to assess students’ understanding of material, particularly if the answers are quickly reviewed by the teacher.”
Many students and educators have a bias against quizzes and tests. Many students feel anxiety when presented with a testing situation. Some educators don’t believe that quizzes offer enough value beyond the stress they cause students, and the time they can take away from the presentation of information.
Personally, I firmly believe in offering students the opportunity for self-assessment after nearly every lesson. If the educator can then review the results and speak with the student, so much the better.
Although testing has traditionally been used as a way to come up with a “final grade” for a student, it’s most important feature is in training students to retain and recall the information presented in a course or program.
Read part 1 here. Read part 2 here. Read part 4 here. Read part 5 here.
Teaching Online – Part 2
What Do I Teach?
If you’re already considering teaching online, you probably have one or more subjects you think others have an interest in. If, for some reason, this is the first time you’ve thought of it, the answer is easy: You can teach anything you want.
Yes, it’s easier to prepare lessons on a subject if you’re an expert on that subject. Whether you gained the knowledge from experience or from taking a course yourself, you can begin making an outline of lesson plans, creating content, and then presenting those lessons to interested students.
But you can still teach a subject you know nothing about. Don’t get me wrong here – you don’t want to simply make up lessons! But there are options. You can team up with an expert in the subject and help them create lessons. Or you could research the subject, and build lessons from content you create. NOTE: It’s not only unethical to steal content from others, in some areas you can be charged and prosecuted as well. Just don’t do it. You only have to be slightly more knowledgeable than the students you’re teaching. As they say, teaching is the best way to learn.
How Do I Start?
If you already have a subject you want to teach, the best way to start is by setting down all the information you want to teach. You can do this as either an outline, or in a list (bulleted or numbered). You can create the list with a word processing program, a text editing app, or with lined or graph paper and a pen or pencil. Use whatever you’re comfortable with.
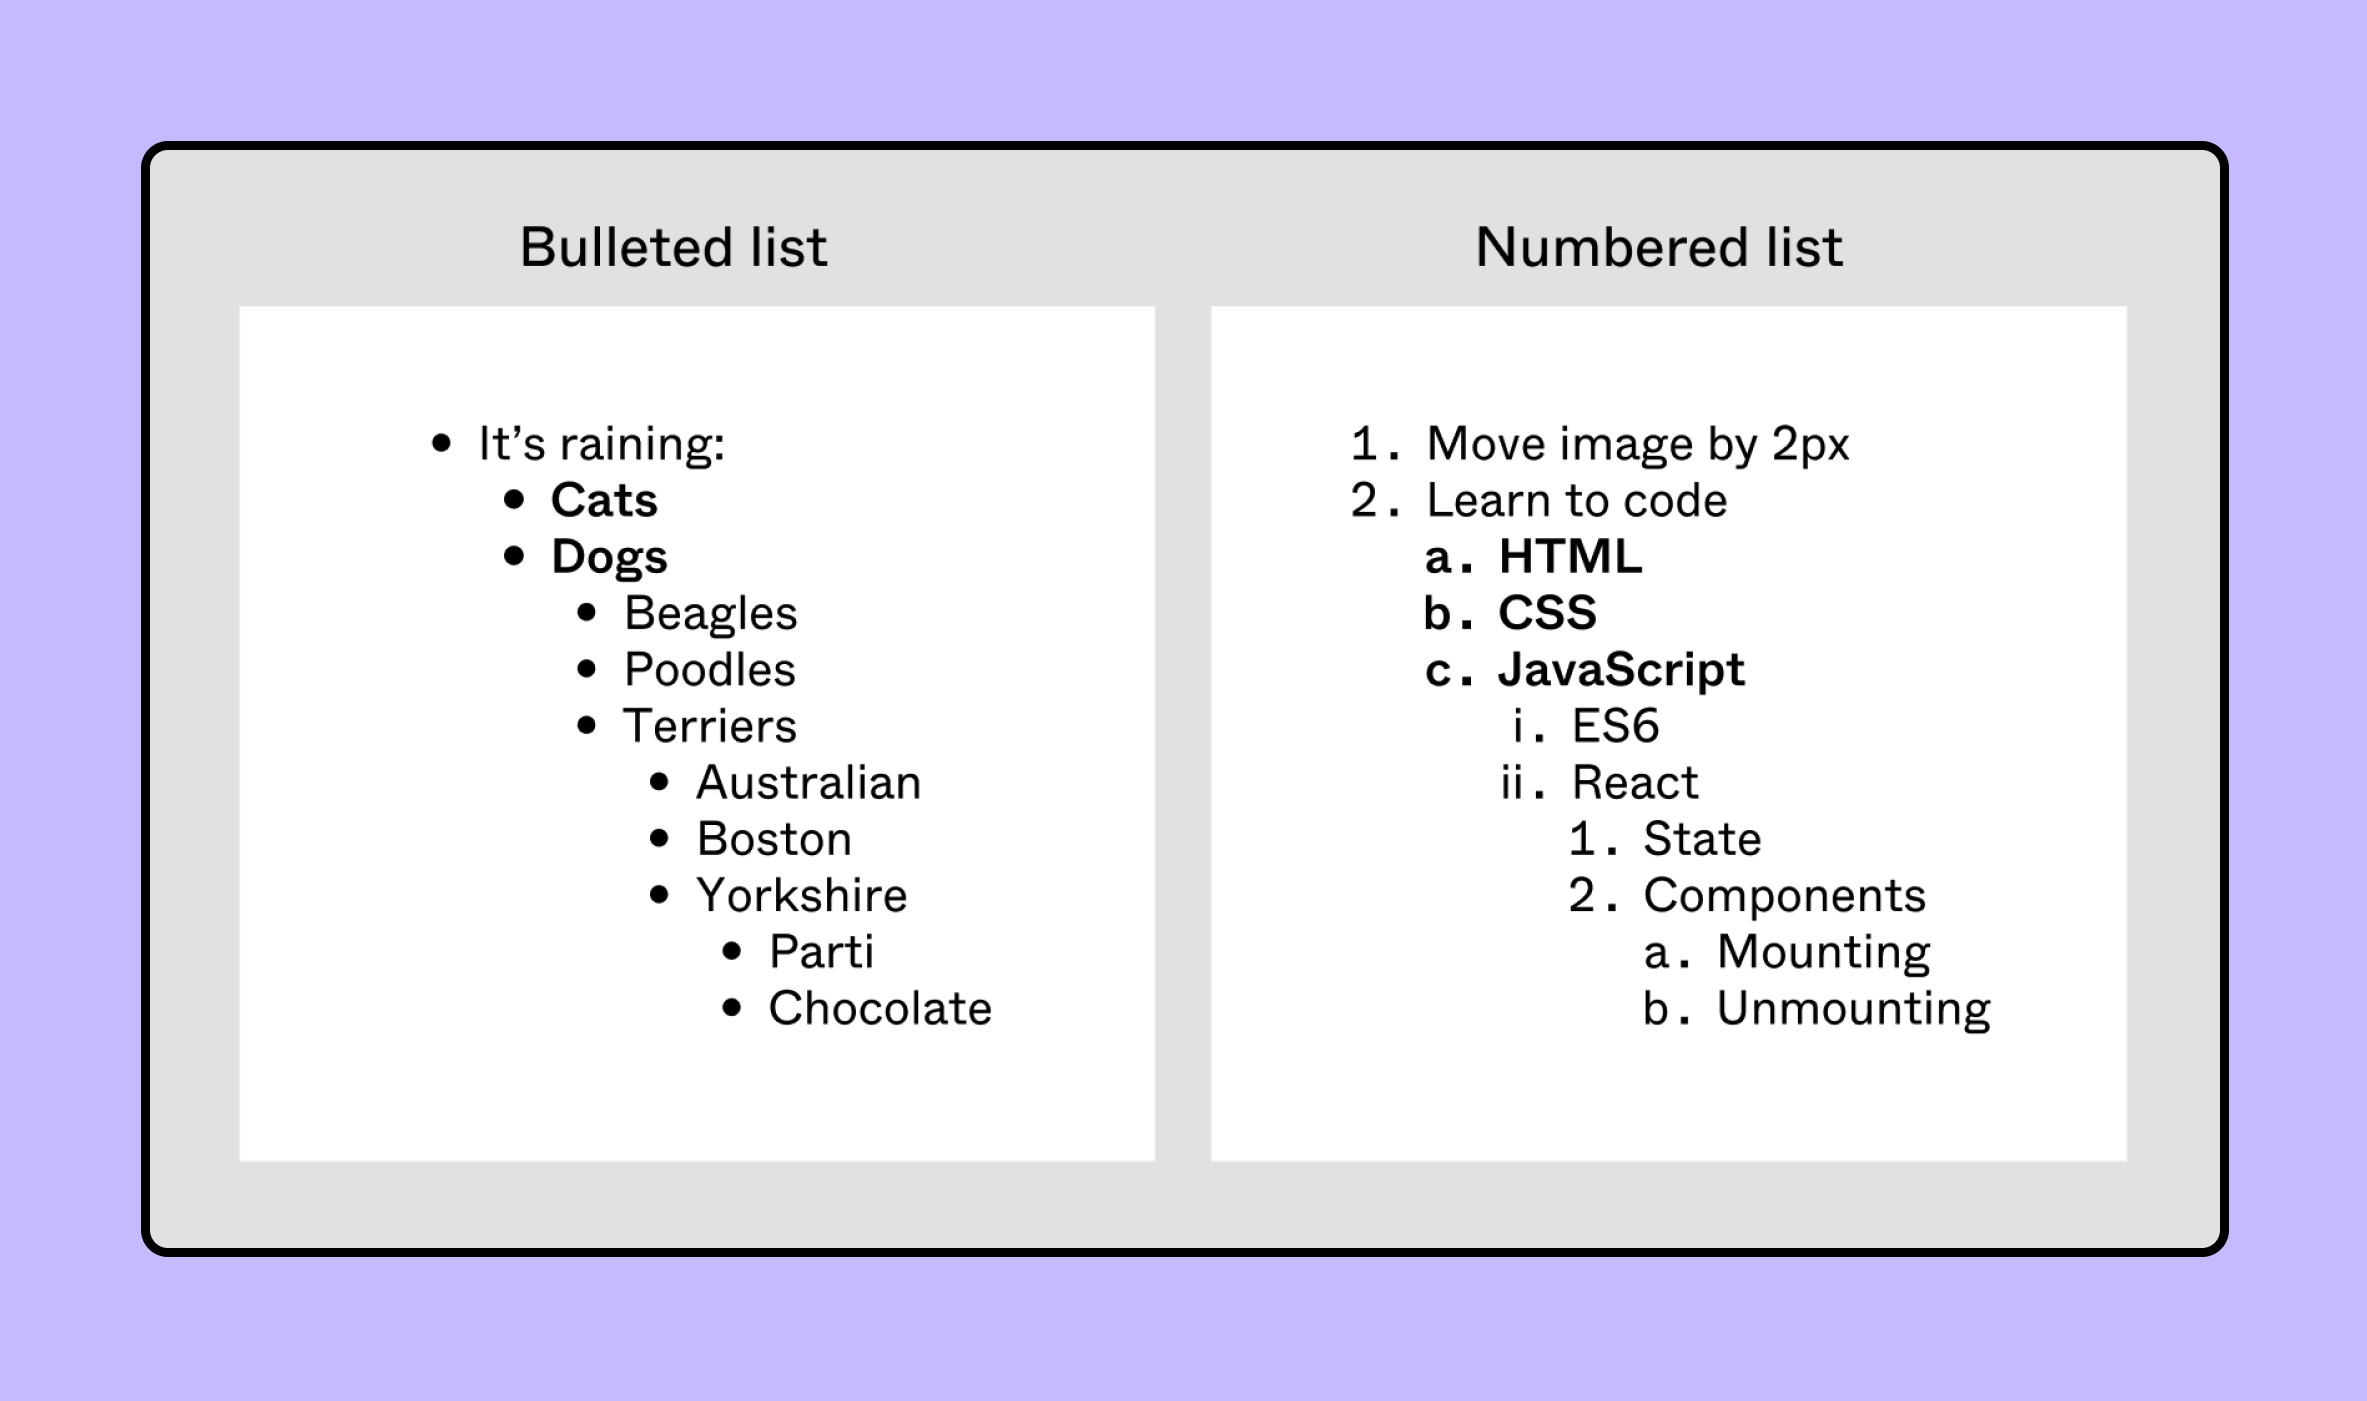
Give yourself time with this step. Often, people can’t set down all the information they know about a subject on the first pass. Write down what you can, in whatever order it comes out of you. Then – walk away. Leave your information alone for several hours, or even a couple days. When you come back, you might see some holes where you left out information. Write that down as well. Walk away again. The next time you come back, you might think of other information you want to pass along.
Once you’ve got most of the information on your subject dumped out in an outline or list, start trying to put it in a logical order. Simple, basic information should be presented first. Then, slightly more advanced information. Finally, the higher-level information where learning it relies on having learned basic and intermediate facts and skills.
Finally, you’ll want to go back to the most basic of information to be taught, and start breaking it down into short, digestible packets of learning. In other words, lessons. What facts, info, skills and techniques can be presented here? What kind of content is needed, and what’s the best media to use to impart it?
The Curse of Knowledge
Many humans have a cognitive bias when it comes to teaching a subject they know, or communicating with someone. We assume (often wrongly) that people have the same knowledge and experiences we ourselves possess. This bias can also be called The Curse of Expertise.
You need to actively put yourself in the position of your students, who know absolutely nothing about your subject area. Only by doing that can you make sure you impart all the information required to learn the subject, in the order the information needs to be learned.
Once again, after you’ve plotted out the information to be imparted in your lessons, leave your list for a while before coming back to it with fresh eyes. Ask yourself, “If I were new to this material, is this all the content I would need to learn this particular lesson?” Again, many of us may not get this complete on the 2nd, 3rd or even 4th try! Be patient with yourself, and be willing to admit that refining the information is an ongoing process.
Read part 1 here. Read part 3 here. Read part 4 here. Read part 5 here.


